
-
Three Questions to Classify Your Project
-
Scenario A: Complex Geometry and Low Volume — Carbon Fiber 3D Printing
-
Scenario B: Metal Features and Tight Tolerances — CNC Machining
-
Scenario C: Laser Welding vs MIG Welding Strength
-
Scenario D: Desktop Carbon Fiber Printers for R&D
-
How to Tell Which Scenario You're In
At carbon-3d, I'm the person who writes down what goes wrong. I've been handling custom manufacturing orders for 7 years. In that time, I've personally submitted 23 bad quotes, apologized for 9 wrong process recommendations, and sent around $18,000 worth of parts to the scrap bin. So when people ask me which manufacturing process is best, I don't give them a one-word answer.
Honestly, there isn't one.
I used to think every part had one 'correct' process. Then I ordered 40 machined aluminum brackets for a client, assuming they'd be stronger than the 3D printed carbon fiber prototype. They were, until the customer complained about the weight. We redesigned the bracket for carbon fiber reinforced nylon, and the printed version was 35% lighter and passed the same load test. That's when I realized 'stronger' depends on more than the machine that made the part.
It took me seven years and about 40 documented mistakes to understand that process selection is a trade-off. This guide is the checklist I wish I had before my first wrong quote.
Three Questions to Classify Your Project
Before you can choose between 3D printing, CNC machining, laser welding, or MIG welding, you need to know what you're actually optimizing. I ask these three questions on every quote:
- What geometry do you need? A complex lattice is not practical on a lathe. A smooth cylindrical bore is not practical on a 3D printer.
- What volume are you making? Ten pieces and ten thousand pieces lead to different processes, even with the same material.
- What does 'strong enough' mean? Tensile strength, fatigue life, stiffness, impact resistance, or weld joint efficiency? Each points to a different solution.
If you skip these questions, you're guessing. I've done it, and the guess was expensive.
Scenario A: Complex Geometry and Low Volume — Carbon Fiber 3D Printing
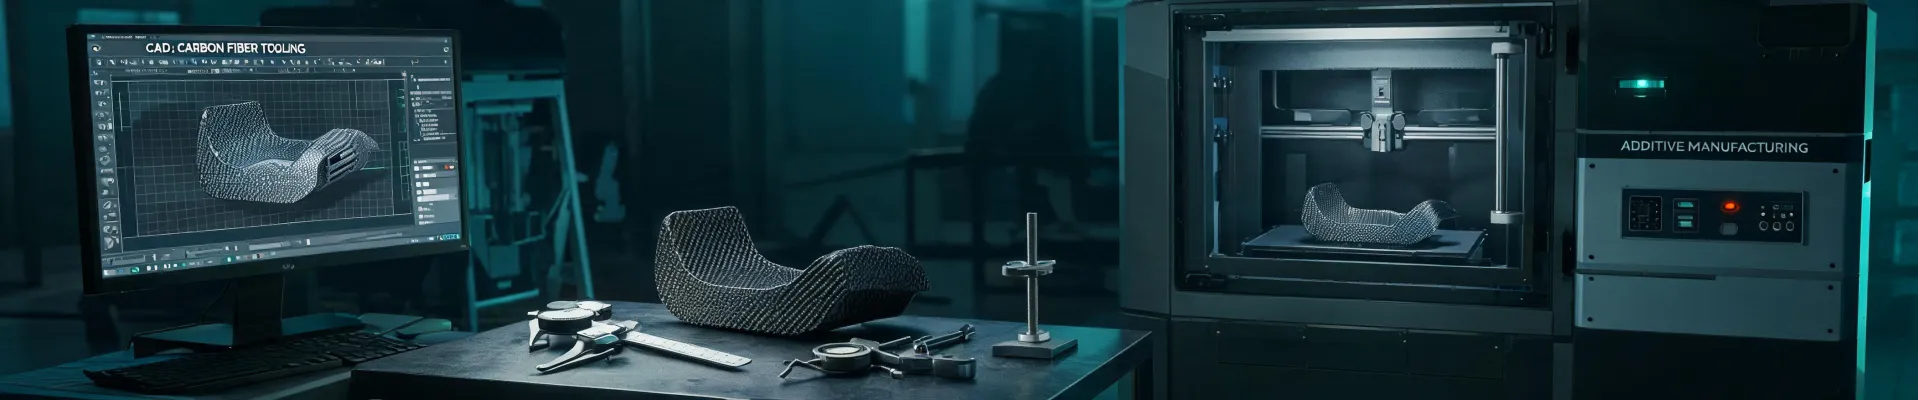
Use carbon fiber 3D printing when the shape is too complex for a mill or lathe, you only need a small batch, and you want a high stiffness-to-weight ratio. This is the sweet spot for what we do at carbon-3d.
There are two types of carbon fiber 3D printing: chopped carbon filled polymers and continuous carbon fiber reinforced layers. Chopped carbon increases stiffness and reduces warping. Continuous carbon fiber is what gives you structural performance because the fibers follow the load path. If you compare quotes, ask which one the service uses. A part printed with chopped carbon nylon will not behave like a part with continuous fiber tows woven through it.
According to ASTM D638, tensile properties are measured on standardized dog-bone specimens, not on finished brackets. That matters because a 3D printed part's strength depends on layer orientation, infill, and print settings. The material data sheet is the starting point, not the final answer.
My pitfall: In 2021, I suggested a machined aluminum part for a client because I thought printed carbon was too risky. The quote came in high, and the client went with a shop that printed it in carbon fiber composite. We lost the order. The lesson wasn't 'aluminum is bad.' It was 'I had no data to back up my bias.'
Scenario B: Metal Features and Tight Tolerances — CNC Machining
CNC milling and turning are the right choice when you need metal threads, bearing seats, optical flats, or repeatability within tenths of a millimeter. No additive process can match a machined surface for those features, at least not cost-effectively at low volume.
One tool I keep getting asked about is the 2 flute straight end mill. In aluminum and plastics, a 2 flute straight end mill clears chips quickly and reduces cutting forces. That makes it useful for thin walls and intricate slots. For steel, I'd start with a different geometry because tool deflection and heat behave differently. The wrong cutter choice is one of those silent problems: the part looks right until you run a micrometer over it.
For turned parts, you need a lathe or a CNC lathe. We route a lot of turned components to partner shops. If you're in the Midwest, searching 'CNC lathe services in Kansas City' will give you options from one-person shops to larger machine shops. Call them before sending files. Ask whether they provide a first article inspection and what tolerance they quote by default. A CNC shop may quote to ISO 2768-m unless you specify tighter. That standard covers linear dimensions but not every geometric callout, so be explicit.
Process gap: We didn't have a formal material/plating checklist before quoting. It showed up when a customer's drawing called for hard anodize after threading. We quoted the thread as if it would still match the spec after anodize, and it didn't. The parts worked only after the customer accepted a slight fit change. That mistake cost us a 3-day delay and a chunk of credibility.
Scenario C: Laser Welding vs MIG Welding Strength
This is the question I get every time someone has thin stainless sheet and wants a clean weld. There is no single strength ranking. The long answer is more useful.
Laser welding uses a highly focused beam, so the heat input is low and the heat-affected zone is narrow. That makes it a good choice for thin materials, lap welds, and intricate joints where you don't want distortion. MIG welding adds filler metal and can bridge misaligned edges, which makes it more forgiving for thicker structural steel and repair work.
Which one is stronger? According to AWS D1.1, structural steel welds need a procedure qualification record to prove they meet the required strength for the application. The process name alone doesn't guarantee strength. A qualified MIG weld on 10 mm steel can be stronger than an untested laser weld on the same joint, and vice versa. The real caveat is fit-up. Laser welding has a tighter focus, so if two pieces don't sit together well, you can end up with incomplete fusion, and that will hurt strength.
In 2019, I went back and forth for two weeks between laser welding and MIG for a thin-wall stainless enclosure. Laser looked clean on paper, but our vendor didn't have a fixture that could hold the pieces tight enough. MIG produced a weld that needed more cleanup, but it passed the customer's drop test. The best choice was the one our actual vendor could execute correctly.
Bottom line: specify the joint, material, and acceptance tests, not just the process name.
Scenario D: Desktop Carbon Fiber Printers for R&D
Sometimes the question isn't about industrial production. It's about whether to buy a desktop printer for in-house R&D. I get a lot of searches for the Bambu Lab X1 Carbon 3D printer official site and the 3D printer Centauri Carbon. Both are enclosed printers that can handle carbon-filled filaments, and both are worth looking at if you're testing materials.
If you compare them, start at the manufacturer's official documentation. Reseller pages often omit important details like chamber temperature, filament drying, and build volume. The Bambu Lab X1 Carbon 3D printer official site lists the specs for one machine, and the Centauri Carbon has its own page. Read both before deciding. Carbon-filled nylon will absorb moisture, and an enclosed printer with a dry filament feed is not a luxury; it's a requirement.
Here's my honest take: a desktop printer is a tool for learning, prototyping, and material testing. It is not a substitute for an industrial service with documented process control. That's not a knock on either machine. It's a matter of throughput, calibration, and traceability. If you need one functional bracket in your lab, a desktop printer might be enough. If you need 50 identical parts with material certificates, send that to a professional shop.
Penny-wise mistake: I once saved about $400 by choosing a lower-priced desktop printer for an R&D project. I spent $820 on failed prints and replacement nozzles before I realized the chamber wasn't hot enough for the carbon fiber nylon we were using. The cheaper machine was the more expensive machine.
How to Tell Which Scenario You're In
Use this as a quick sanity check:
- Complex composite geometry, low volume, high stiffness-to-weight ratio → carbon fiber 3D printing.
- Precision metal features, threads, tight tolerances → CNC milling or CNC lathe.
- Thin sheet metal, low distortion, precision joint → laser welding.
- Thick steel, poor fit-up, repair, structural weld → MIG welding.
- Early stage material testing, in-house iterations, small functional parts → desktop printer such as the Bambu Lab X1 Carbon or Centauri Carbon.
If your project crosses two boxes, start with the dimension that is hardest to change. A printed bracket can be redesigned overnight; a die casting cannot. A welded joint can be ground down, but a machined surface tolerance cannot be added after welding. So the sequence matters as much as the process.
I'd rather spend ten minutes explaining the trade-offs than re-quote a part four times. An informed customer asks better questions and makes faster decisions. That's good for both of us.
If you have a drawing and you're not sure, send it to carbon-3d. I'll tell you what I would do, even when it means suggesting a process we don't offer in-house. That's the person I've become after all the mistakes — the one who prevents other people from making them.