-
Step 1: Define the part family before you touch a spec sheet
-
Step 2: Price the machine, then price the operation
-
Step 3: Get a test part from the actual production line
-
Step 4: Verify the process fits the volume and the material
-
Step 5: Count the hidden costs that don't appear on the quote
-
Step 6: Vet the vendor, not just the machine
-
Step 7: Run the in-house versus outsourced math
-
Common Mistakes That Still Show Up on My Desk
If you're in the middle of a buying decision—a 3D printer, a laser welder, or a move into injection molding—this checklist is for you. I'm a procurement manager at a 28-person prototyping shop. I've managed our equipment and outsourcing budget of about $180,000 a year for six years, negotiated with 30+ vendors, and tracked every order in our cost system. I've made the expensive mistakes so you don't have to.
This checklist has seven steps. It assumes you're buying for real production work, not hobby projects. If that's you, read on.
Step 1: Define the part family before you touch a spec sheet
Most buyers start with the machine—print volume, laser wattage, bed size—and work backward to find parts that fit. That's backwards, and it's the biggest blind spot I see. People get excited about the Bambu Lab X1-Carbon 3D printer (deservedly, for the most part) and buy one before checking whether their part volumes justify additive manufacturing at all.
The question everyone asks is, "which printer or laser should I buy?" The question they should ask is, "which process does this part family actually belong to?" You need to define your parts first: geometries, volumes, materials, tolerances, and a 12-month demand projection. At our shop, projections beyond 12 months tend to be fiction—I say that as someone who's been burned by being too optimistic and too pessimistic, sometimes in the same quarter.
For example: the Bambu Lab X1 Carbon Combo—the version with the automated material system—is genuinely good for carbon fiber reinforced prototype parts. The print quality reviews are hard to beat at that price. But it's still a desktop 3D printer. If your part family is 5,000 units a year, you're not buying a printer; you're having the wrong conversation entirely.
Step 2: Price the machine, then price the operation
The sticker price is the least useful number on the quote. I learned this early: the "cheap" option doesn't include the workholding, the tooling, the programming software license, or the training hours.
Take the Monport 100W fiber laser. The price is tempting—I get why people gravitate to it. But a 100W fiber laser doesn't run on its own. You need a chiller (sometimes included, sometimes not, depending on the bundle), fume extraction for certain materials, an air compressor if you're cutting, and a drawer of replacement lenses and nozzles. When I totaled those for a comparison in Q2 2024, the "affordable" laser was 33% more expensive than the sticker once I added the peripheral gear and first-year consumables.
Same story with the Photonics laser welder price. When a vendor quotes you a laser welder, ask exactly what's in the number. I compared three quotes a couple of years back for a handheld welder (not the Photonics unit specifically) and found a $3,200 spread on essentially the same configuration. The difference was what the vendors included: chiller, safety glasses, fume extractor, shipping. Read the fine print, then read it again.
Step 3: Get a test part from the actual production line
Before any large capital approval, I run a test part. Not the polished sample the sales rep sends you—a test part from the actual production line, with your actual geometries, in your actual material.
Looking back, I should have insisted on this before we bought our first CNC mill. At the time, the manufacturer's demo parts looked flawless. Our parts, made with our fixtures and our operator's skill level? Not so much. The machine was fine—the gap was between sample quality and production quality. A real test part would've caught the fixture problem in week one instead of week eight.
For a 3D printer, ask for a test print of one of your own bracket designs. For a laser, ask them to cut or mark your material at your required thickness and speed. Most reputable vendors will do it—or rather, they'll charge a small fee, which is still the cheapest insurance you'll buy all year.
Step 4: Verify the process fits the volume and the material
This is where I see the most overbuying. Let's use metal injection molding—MIM—as an example, since it's a process everyone references but few properly understand.
How does metal injection molding work? You mix fine metal powder with a polymer binder into a feedstock, inject it into a mold (just like plastic injection molding), then remove the binder and sinter the part in a furnace. The result is a dense, near-net-shape metal part. It's excellent for complex geometry at medium-to-high volumes because the per-part cost drops dramatically once the tooling is paid off. The industry reference for material properties—MPIF Standard 35—is worth having on your desk if you're serious about MIM.
But here's the honest limitation: a MIM mold costs anywhere from $10,000 to $50,000+, with lead times in months. If your annual demand is 1,000 pieces, MIM is the wrong answer. If it's 50,000, 3D printing is the wrong answer in most cases. I went back and forth on this exact decision for one of our client's metal brackets. On paper, an in-house metal 3D printer sounded exciting—faster iterations, more control. But the TCO spreadsheet said otherwise: at 30,000 parts over two years, MIM was a quarter of the cost per part. We outsourced it. My engineering team was annoyed for a week, then quietly admitted the parts were better than our prototypes.
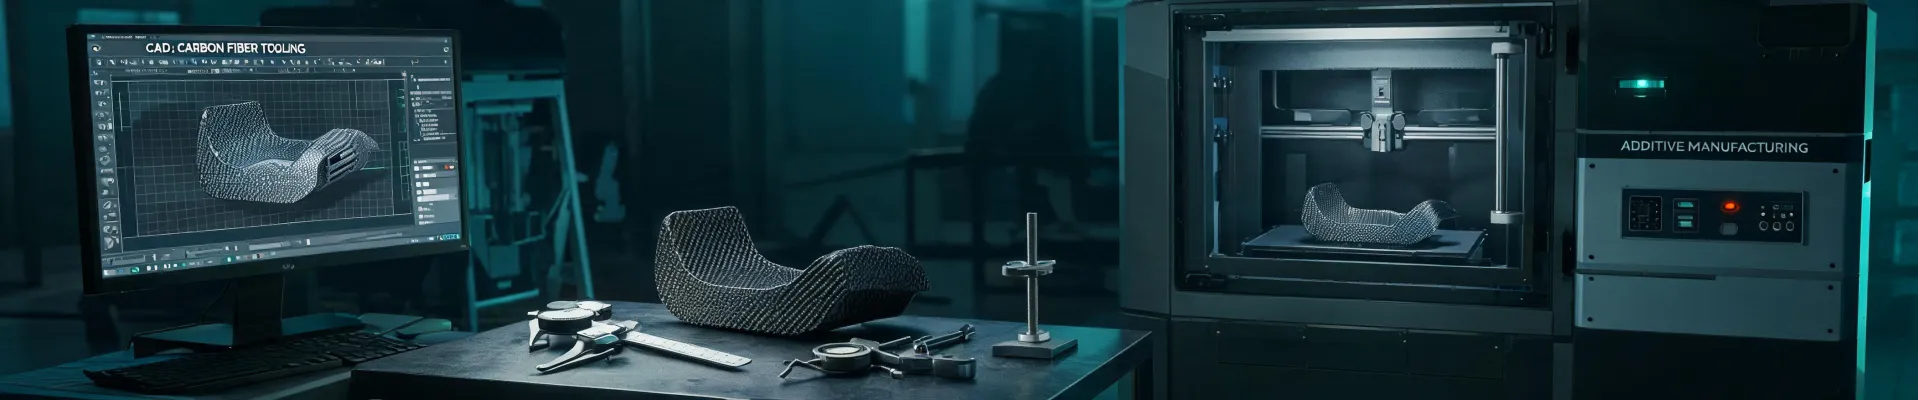
Same logic applies to carbon fiber. A machine like the X1-Carbon handles chopped carbon fiber filaments well (we use them for jigs and functional prototype brackets). But if you're designing continuous carbon fiber layups for structural loads, that's a different manufacturing category entirely, and it needs the same volume-and-material evaluation.
Step 5: Count the hidden costs that don't appear on the quote
Looking at 180+ orders in our tracking system, the biggest overspending categories are setup fees, rework, and expedited shipping—in that order. That "free setup" offer once cost us $450 more in hidden fees after the vendor added a "pre-production sample" line item and a "fixture adjustment" charge. Our procurement policy now has one rule: if it's not on the quote, it doesn't exist. (Note to self: I still need to apply this rule to my own kitchen renovation, but that's another story.)
Other costs people routinely miss:
- Custom tooling: MIM molds, laser fixtures, 3D printer upgrades. Often quoted separately and often overlooked in the initial budget.
- Post-processing: support removal, sintering, bead blasting, powder coating. This is routinely more expensive than the core print or cut job.
- Operator training and certification. A 100W laser is not a hobby tool. Trained operators cost money and time.
- Disposal and compliance: metal powders, solvents, and abrasives all have disposal costs that hit your P&L quarterly.
Step 6: Vet the vendor, not just the machine
The hardware matters. The vendor around it matters more. I've dealt with vendors who disappeared after the invoice cleared, and vendors who answered a support ticket at 11 PM on a Saturday. I'm not making that up.
For equipment purchases, read the negative reviews alongside the five-star ones. Bambu Lab X1 Carbon Combo reviews are mostly glowing about print quality—rightly so—but long-term reviewers consistently mention the AMS unit jamming with abrasive carbon fiber filament. Some have solved it with a cheap PTFE guide tube, but you'd rather know that before you commit to running carbon fiber daily.
For outsourced manufacturing, vetting is even more critical. We switched vendors for laser-cut sheet metal parts in Q2 2024 because the new quote was 17% cheaper. After they added material waste charges and split orders? 6% more expensive than the original vendor. We switched back, and now our policy requires three written quotes for anything above $2,000. That policy has saved us somewhere in the range of $8,400 a year—I want to say 17% of that category's budget, but don't quote me on the exact number without pulling the report.
Step 7: Run the in-house versus outsourced math
Everyone assumes "in-house" means "cheaper." It doesn't. It means you pay the depreciation, maintenance, operator, floor space, and insurance yourself.
Try this: (machine price + annual maintenance × 3 years + operator cost) ÷ total operating hours over three years. When I ran this for the Photonics laser welder we were considering—it was in our price range—the real cost came out to roughly double the quote per operating hour. At our volume, about 15 hours of laser work a week, outsourcing was 30% cheaper over three years. The in-house machine only won past 30 hours a week.
That cuts both ways. Our Bambu Lab X1-Carbon paid for itself in a couple of months because we iterate prototypes daily. My rule of thumb: if the machine isn't at 30-40% utilization by month three, it wasn't a purchase; it was an expense.
And if you're evaluating an outsourced partner for carbon fiber 3D printing or laser work, I'll be transparent: we use carbon-3d for some prototype runs. Their multi-process capability (3D printing, CNC, laser, injection molding) let us consolidate three vendors into one, which trimmed roughly 17% off our prototype spend. That said, I'd give the same advice regardless of who we used: make any vendor prove capability on your actual parts before you commit.
Common Mistakes That Still Show Up on My Desk
After all these years, the same three mistakes keep appearing:
- Buying for fantasy volumes. Projecting 5,000 parts when you've sold 200 means you're buying for a dream. Start with outsourcing and let demand catch up to the math.
- Ignoring the operator. The best-equipped shop with a bored, under-trained operator loses to an average shop with a motivated one. Every time.
- Confusing evaluation with commitment. A test part, a trial, a short-term rental—these are evaluation tools, not the start of a marriage. Use them.
There's no "best" 3D printer, no "best" laser, and no universal answer between 3D printing, MIM, and CNC. There's only the right fit for your part family, your real volumes, and your actual budget. This checklist is how I find that fit without burning the company's money.